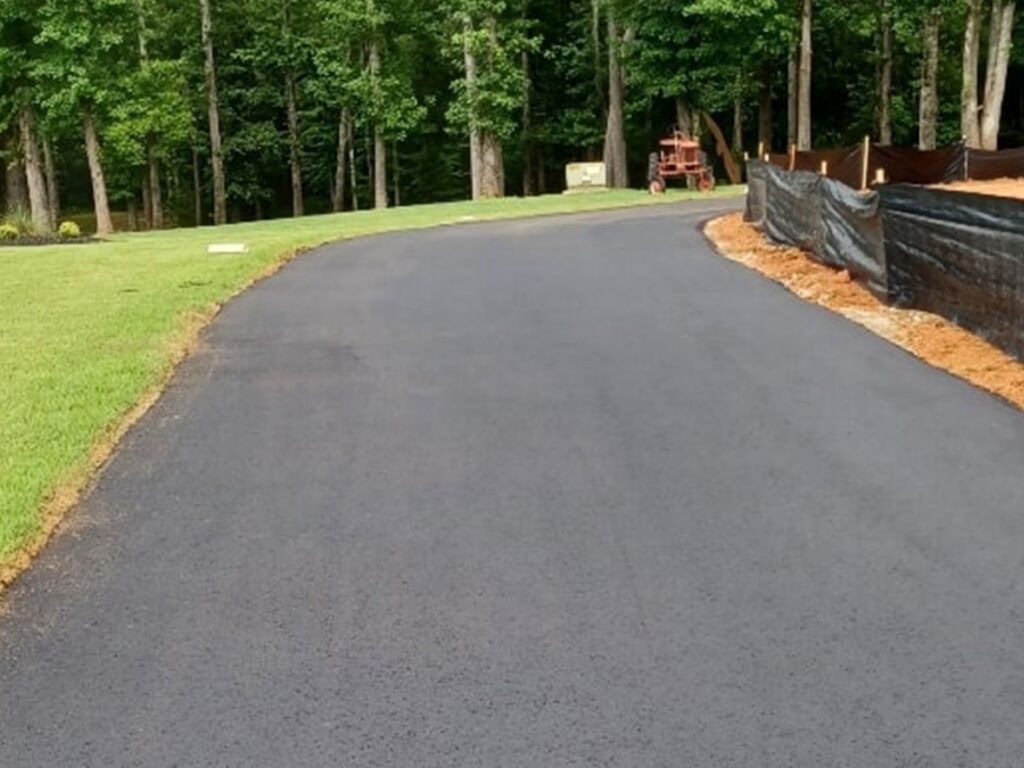
Asphalt surfaces require maintenance to ensure safety and retain a good appearance. If cracks and potholes develop after some time, you don’t have to replace the entire surface. Instead, you can conduct asphalt resurfacing, which involves adding a fresh coat.
Here is a step-by-step guide to this process.
Step 1: Prepare the Surface and Assess the Damage
Proper preparation before asphalt resurfacing will enhance the structure’s integrity. Begin by pulling out grass and weeds growing on the edges or cracks. It’s also essential to apply a mixture of bleach and water to kill algae and moss.
The next preparation step is using a brush to eliminate dust and debris in the cracks. You may then scrub off dirt on the rest of the surface, then let it dry.
Once your asphalt is clean, it’s time to assess the extent of damage. This step will help you choose the best asphalt resurfacing method. Inspect the cracks to identify their causes and depth. Further, check if the base layer is intact before proceeding.
Step 2: Mill the Surface and Repair Cracks
Removing a layer of old asphalt reduces damage and provides room for an overlay. Use a power rammer to scrape off 1-2 inches of the top layer.
Afterward, repair cracks and potholes by adding a suitable filler. You should always ensure the material is completely smooth and at the same level as the milled surface. Use a putty knife or a flat blade to scrape off excess filler and dispose of it.
Step 3: Lay the Asphalt
Fixing cracks and eliminating dirt paves the way for the actual asphalt resurfacing step. Prepare your mix and pour it equally on the entire surface. Ideally, you should start at the edges and work toward the middle. This prevents the solution from dripping on other surfaces.
You should use a back-and-forth pattern during asphalt resurfacing to ensure complete coverage. This movement will also compact the fresh layer with the existing one, improving structural strength.
Step 4: Let the Surface Dry
Allowing an overlay to dry properly is an essential part of asphalt resurfacing. While the area won’t fully cure until 6-12 months pass, it will be ready for use in 24-48 hours, depending on the weather.
If it’s hot, the surface will likely dry quickly, and you can drive or walk on it after a day. However, asphalt resurfaced in cooler and/or wet months may need longer to dry.
The Benefits of Professional Asphalt Resurfacing
While learning asphalt resurfacing steps can help you handle the task, hiring a professional is better for several reasons. For example, they will identify and fix the cause of damage to protect the new layer. They will also use the best asphalt mixture and equipment.
Hiring a professional for asphalt resurfacing saves time and money. Contractors have adequate experience and will complete the job correctly on the first try. They also take the appropriate precautions to avoid damage and ensure workers’ safety.
Call Georgia Wildcat Paving for Asphalt Resurfacing
Asphalt resurfacing will restore your pavement to good condition and avoid premature replacement. At Georgia’s Wildcat Paving, we can save you from DIY repair stress.
Our professionals will inspect your property to provide a repair plan. They will then use high-quality materials and equipment to ensure a perfect job. Get a free quote now.


